 |
| 3D-printed quadrocopter/drone |
The mini drone and its parts can be seen on the picture above. It has a printed body, a printed cover, a small board (in the middle of the drone), a battery pack, and 4 motors. The first step in getting the copter up into the air was to design the body and cover as seen on the picture below. Some attention needs to be applied to keeping the rotors in a safe distance to each other and to have space within the body to house the battery pack and the controller board.
 |
| Design process for a DIY quadrocopter |
What also needs to be taken into account is how the part can be printed. If the bottom is not flat, a special supporting structure needs to be printed. Its design is automatically computed by the software and, at least sometimes, can be a beauty of its own. The picture below shows the cover for a slot car and the supporting structure needed to print the cover.
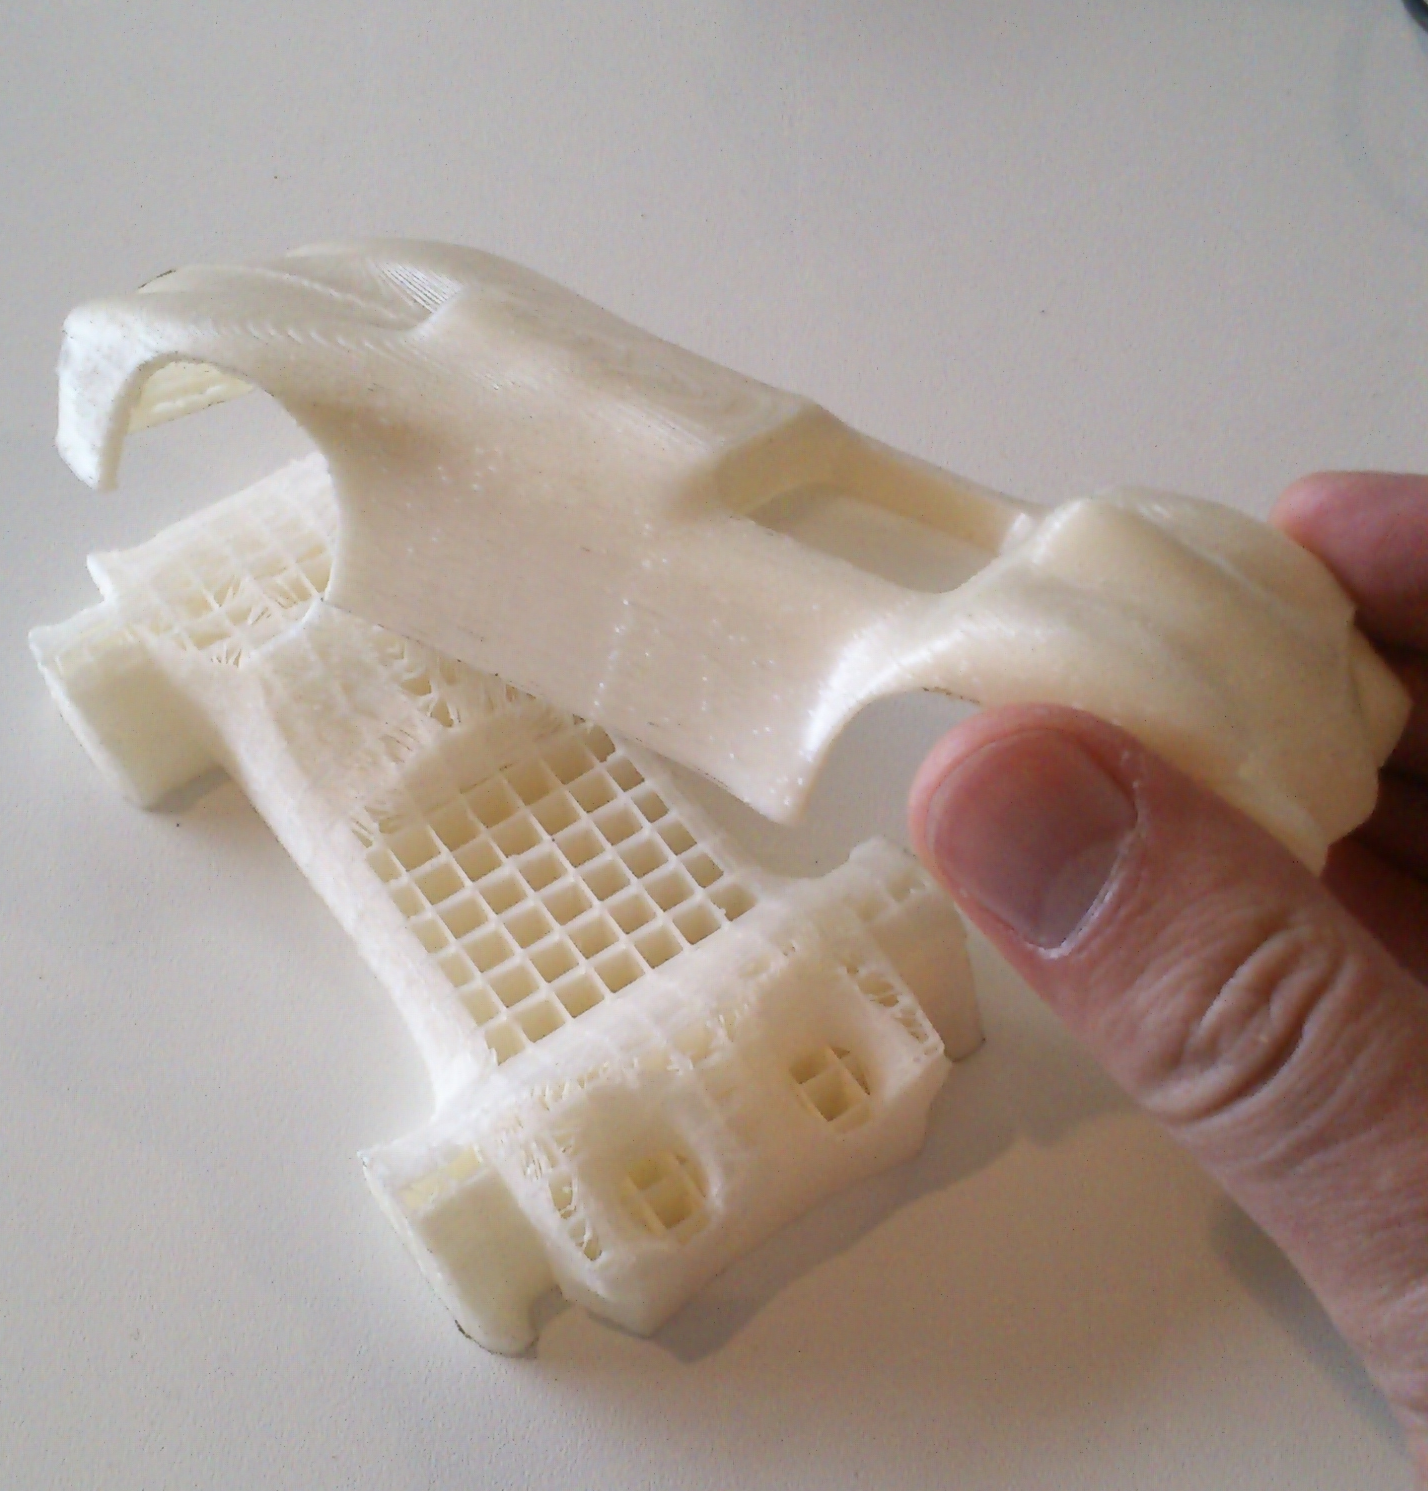 |
| 3D-printed car cover and supporting structure |
After all the parameters have been tuned (similar to database performance tuning a lot is based on experience), the code file for the printer can be generated and then moved over to the printer. Then patience is necessary to wait for the printer to assemble layer by layer of the drone body. Thereafter, the motors, controller board, battery pack and cables can be placed into their positions (some soldering included), the remote control and quadrocopter be powered up (in that order), and the chopper be taken for a test flight.
What I need to do know is how to figure out obtaining family-internal approval to purchase a 3d printer, and how to combine Bluemix and the IoT services with either a 3d printer, or with devices with printed parts...
(The video shows how the lower layers of the drone body are printed)